In this post we are going to learn how to set up Twilio Flex, create skills and route calls through an IVR to the correct skilled agents. Don’t know what any of this means? Don’t worry! Just go through the tutorial and you’ll learn all this terminology.
- Setting up a new Twilio Flex instance
- Route Twilio Flex calls by skill using Twilio Studio
- BONUS: Create agents with Google and LDAP integration
- BONUS: Set up automatic deployments using Gitlab for Twilio Flex
Setting up a new Flex Instance
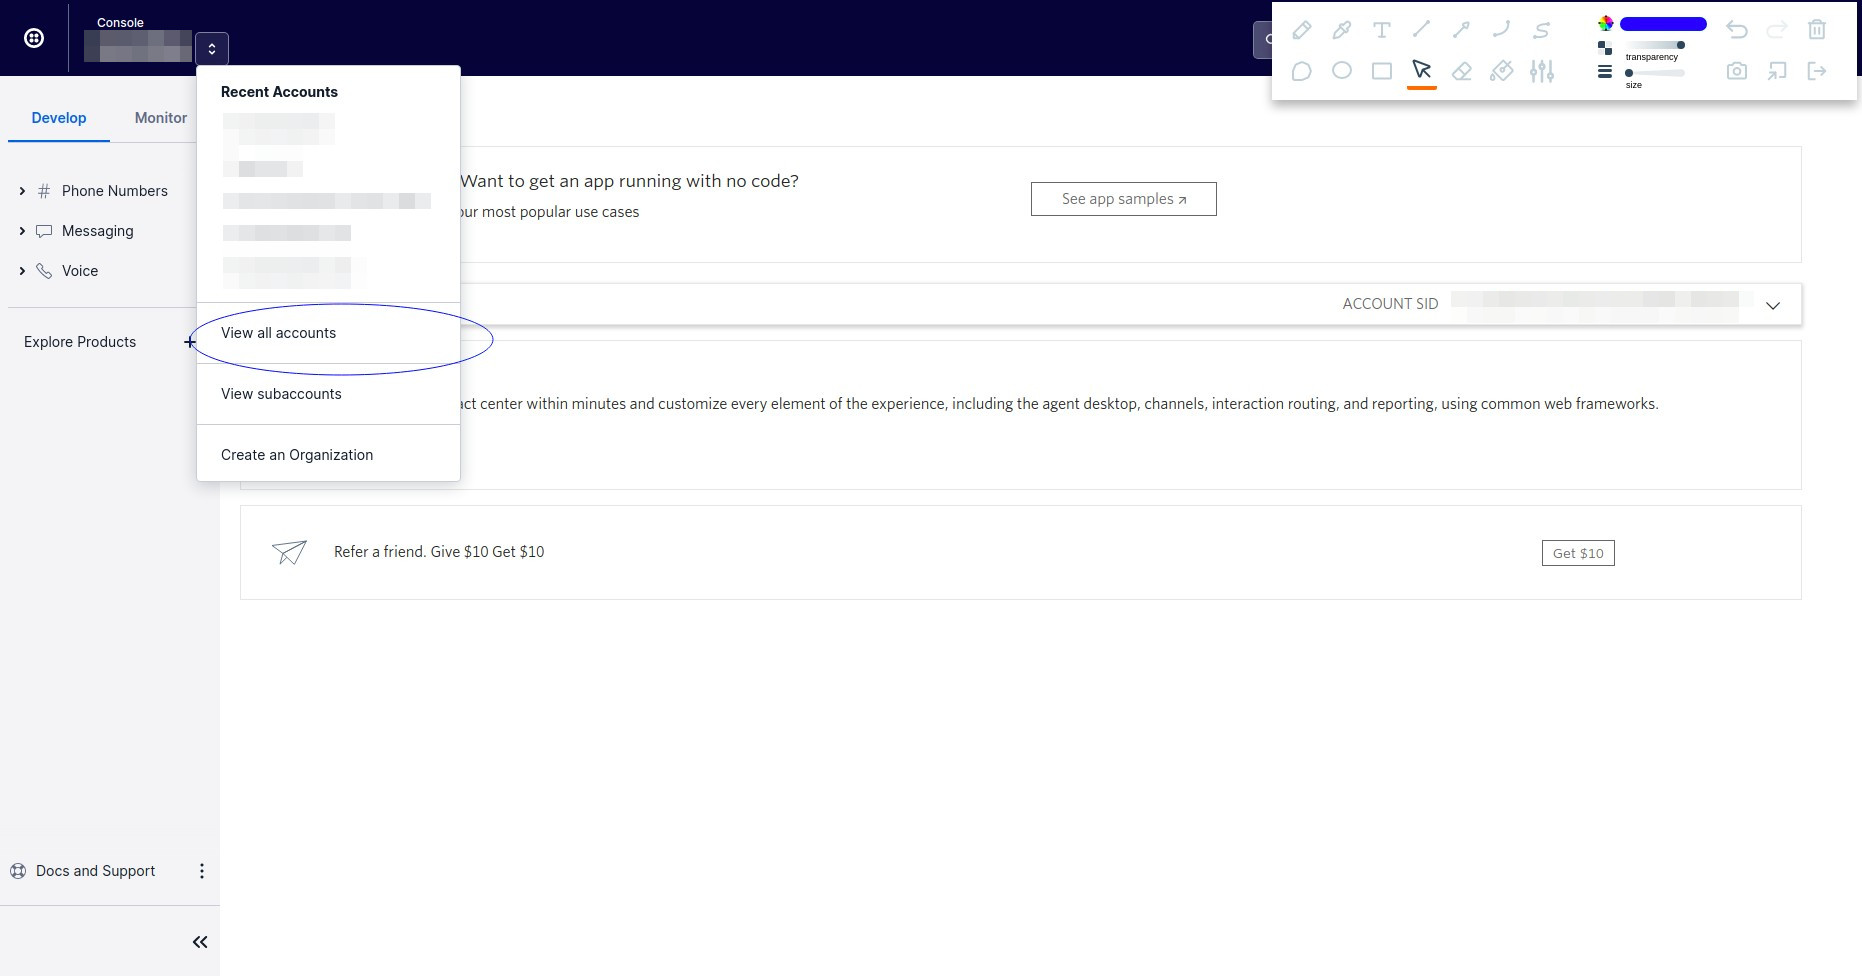
As of today, you can only create a single Flex instance per Twilio account, even if you have subaccounts. So we need to create a new Twilio account if we want a brand new Flex instance. Click on the dropdown menu on the top left corner > View All Accounts
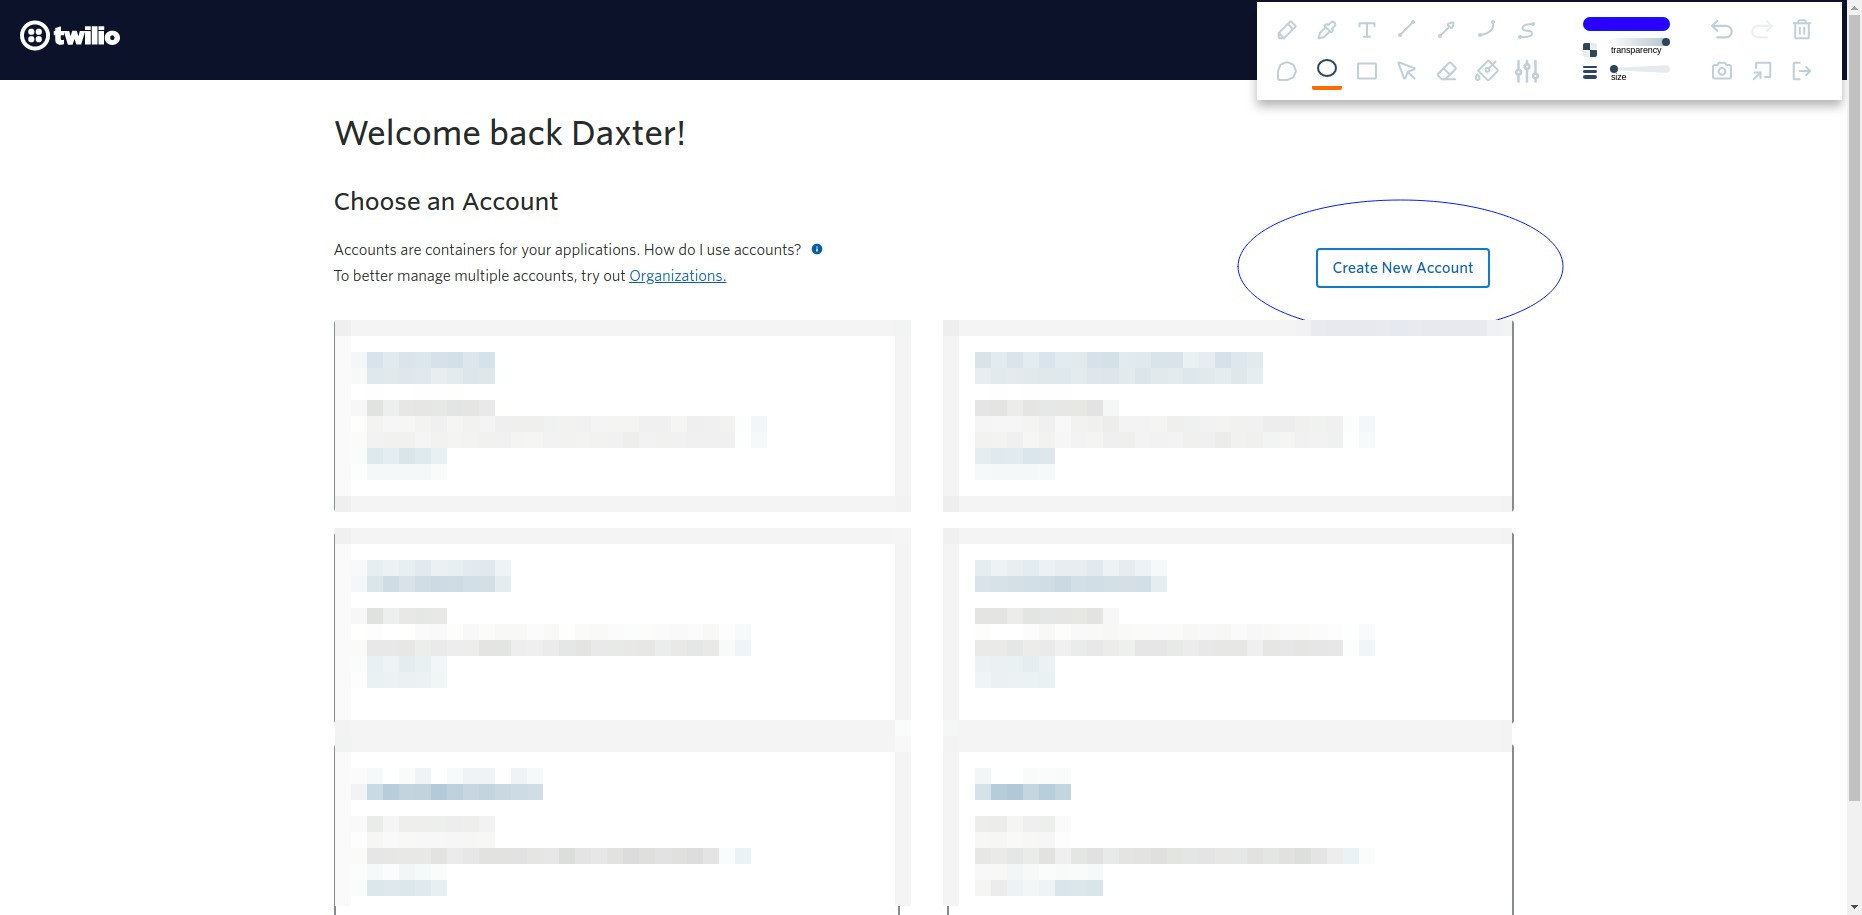
Click on the Create New Account button
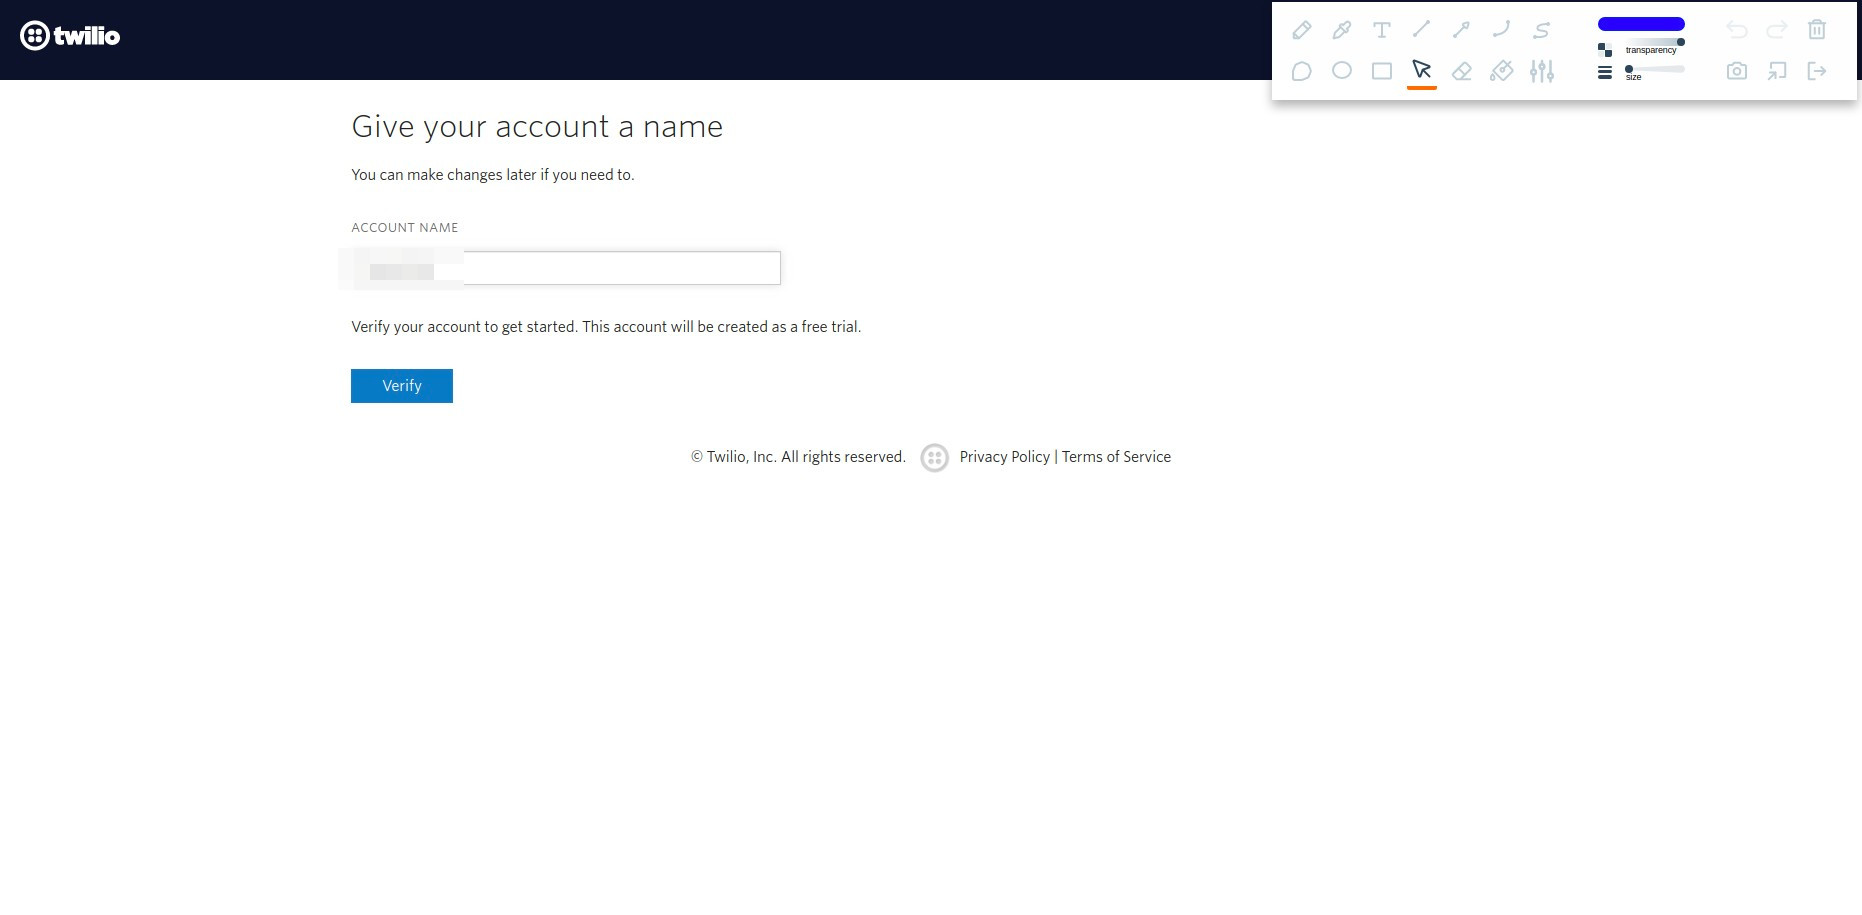
Add an account name and click verify
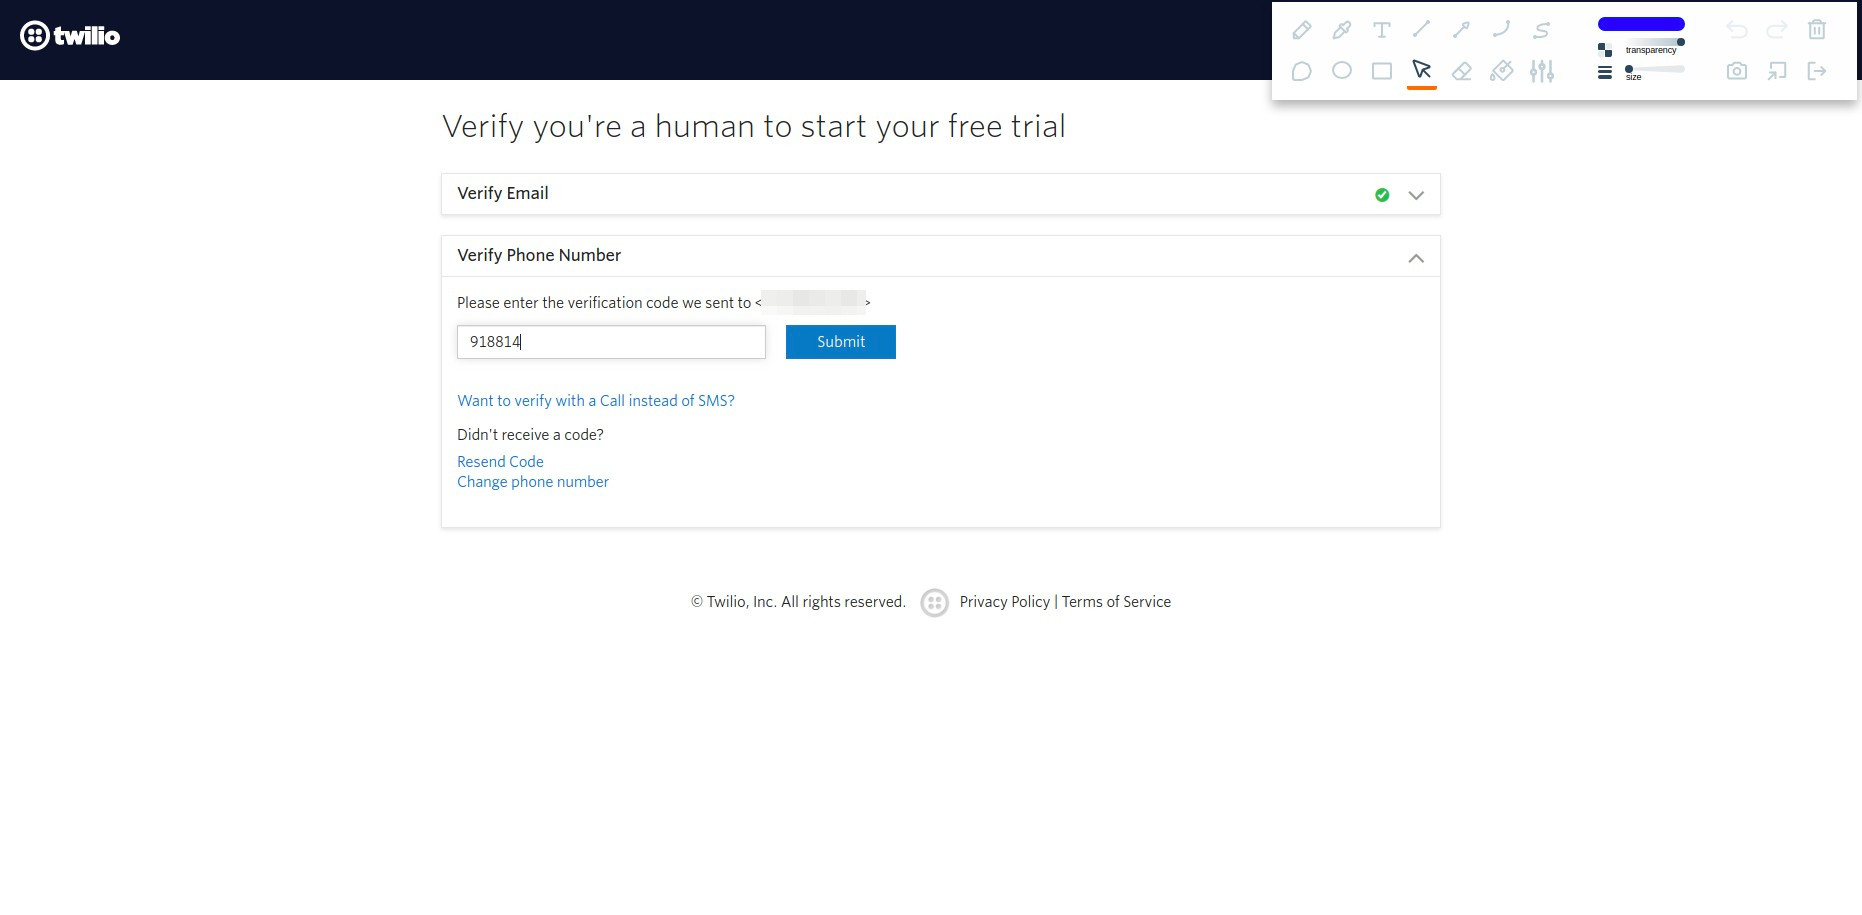
Add your phone number
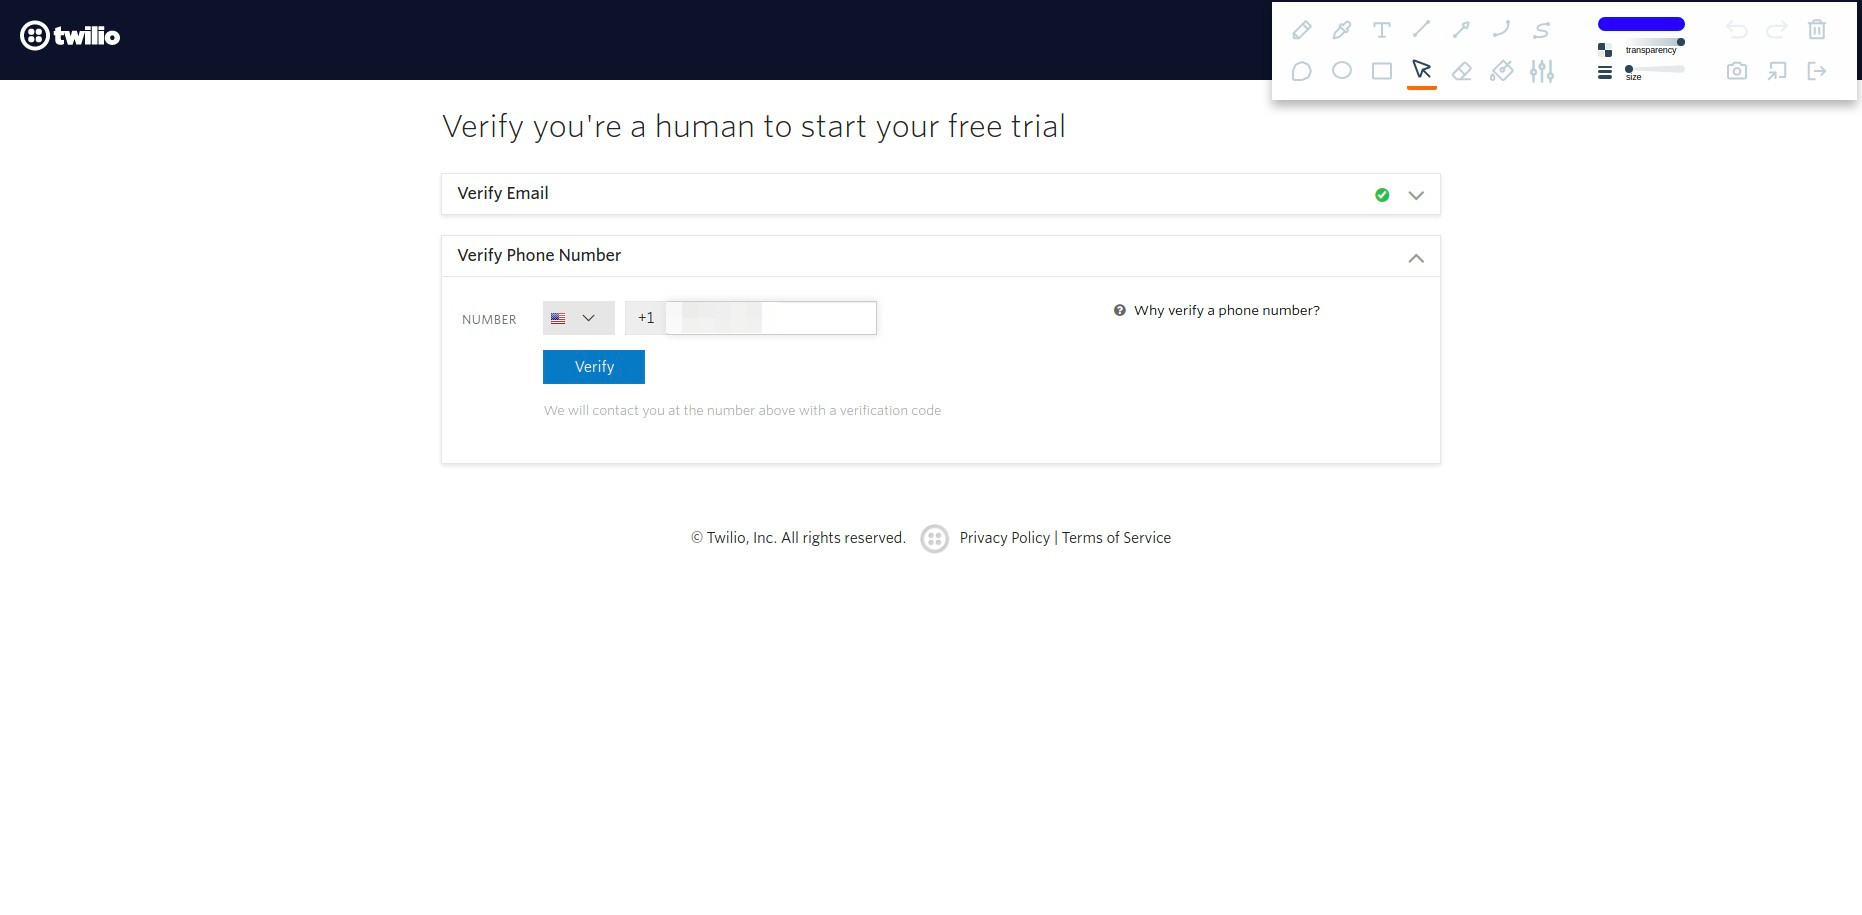
Verify the code that was sent to your phone
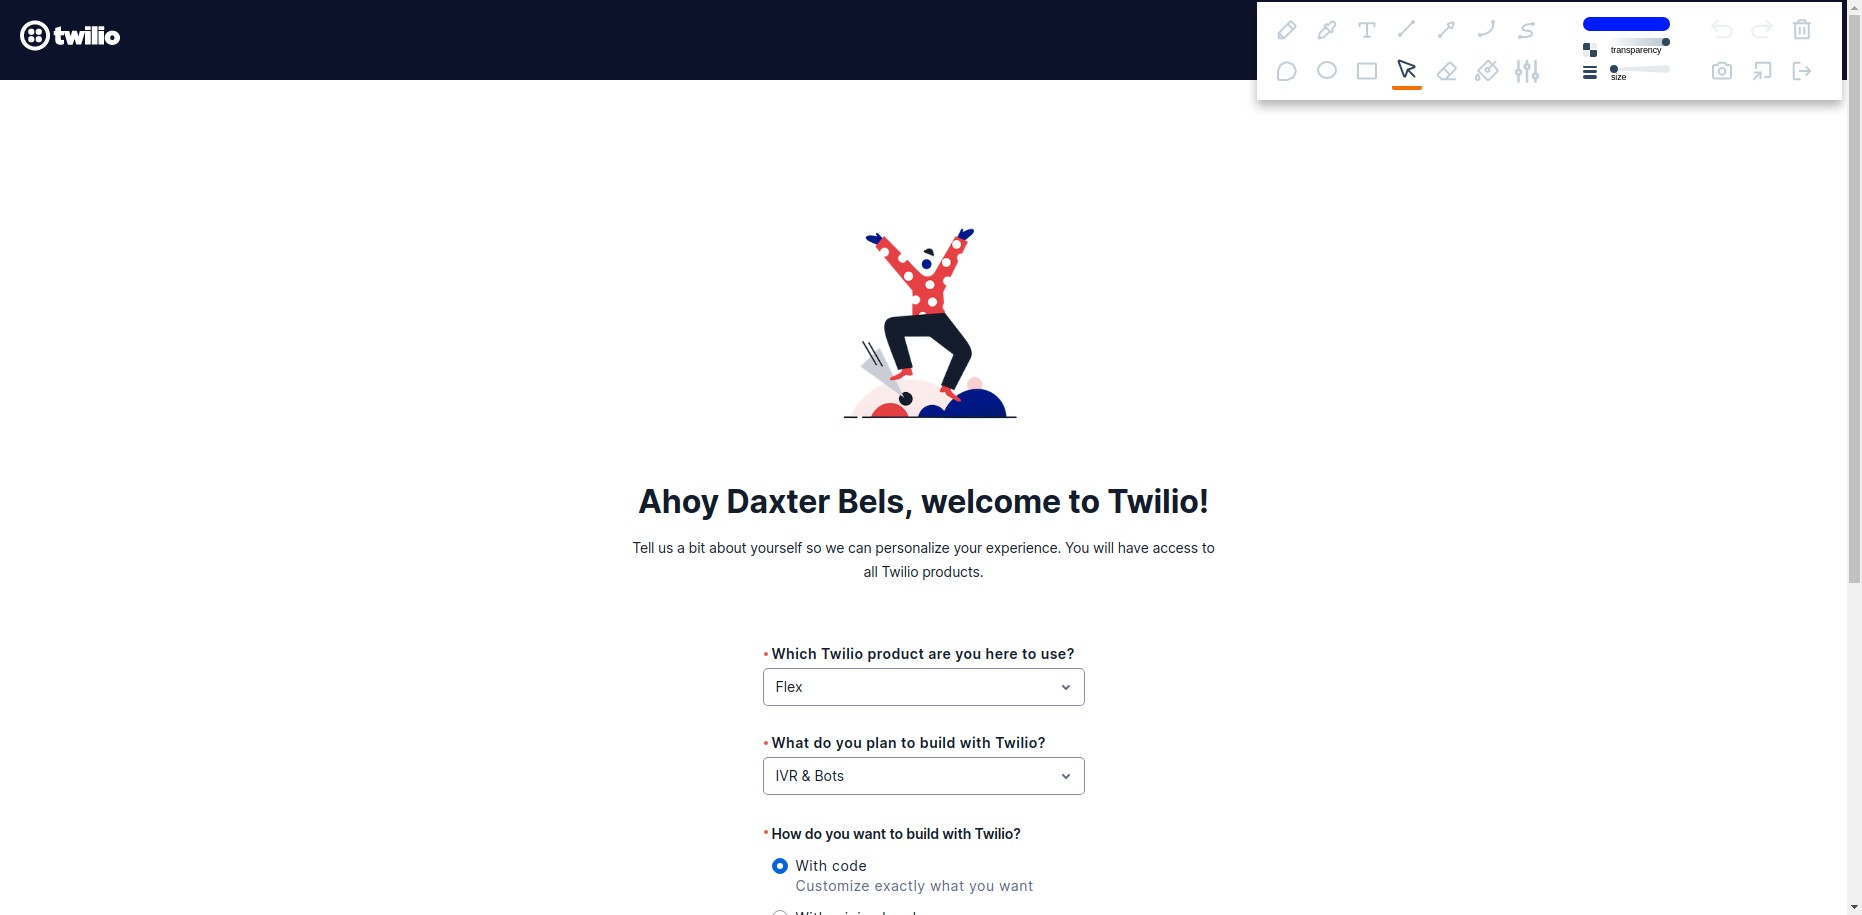
You are going to be welcomed with a welcome survey, fill it up as you want and click Get Started with Twilio
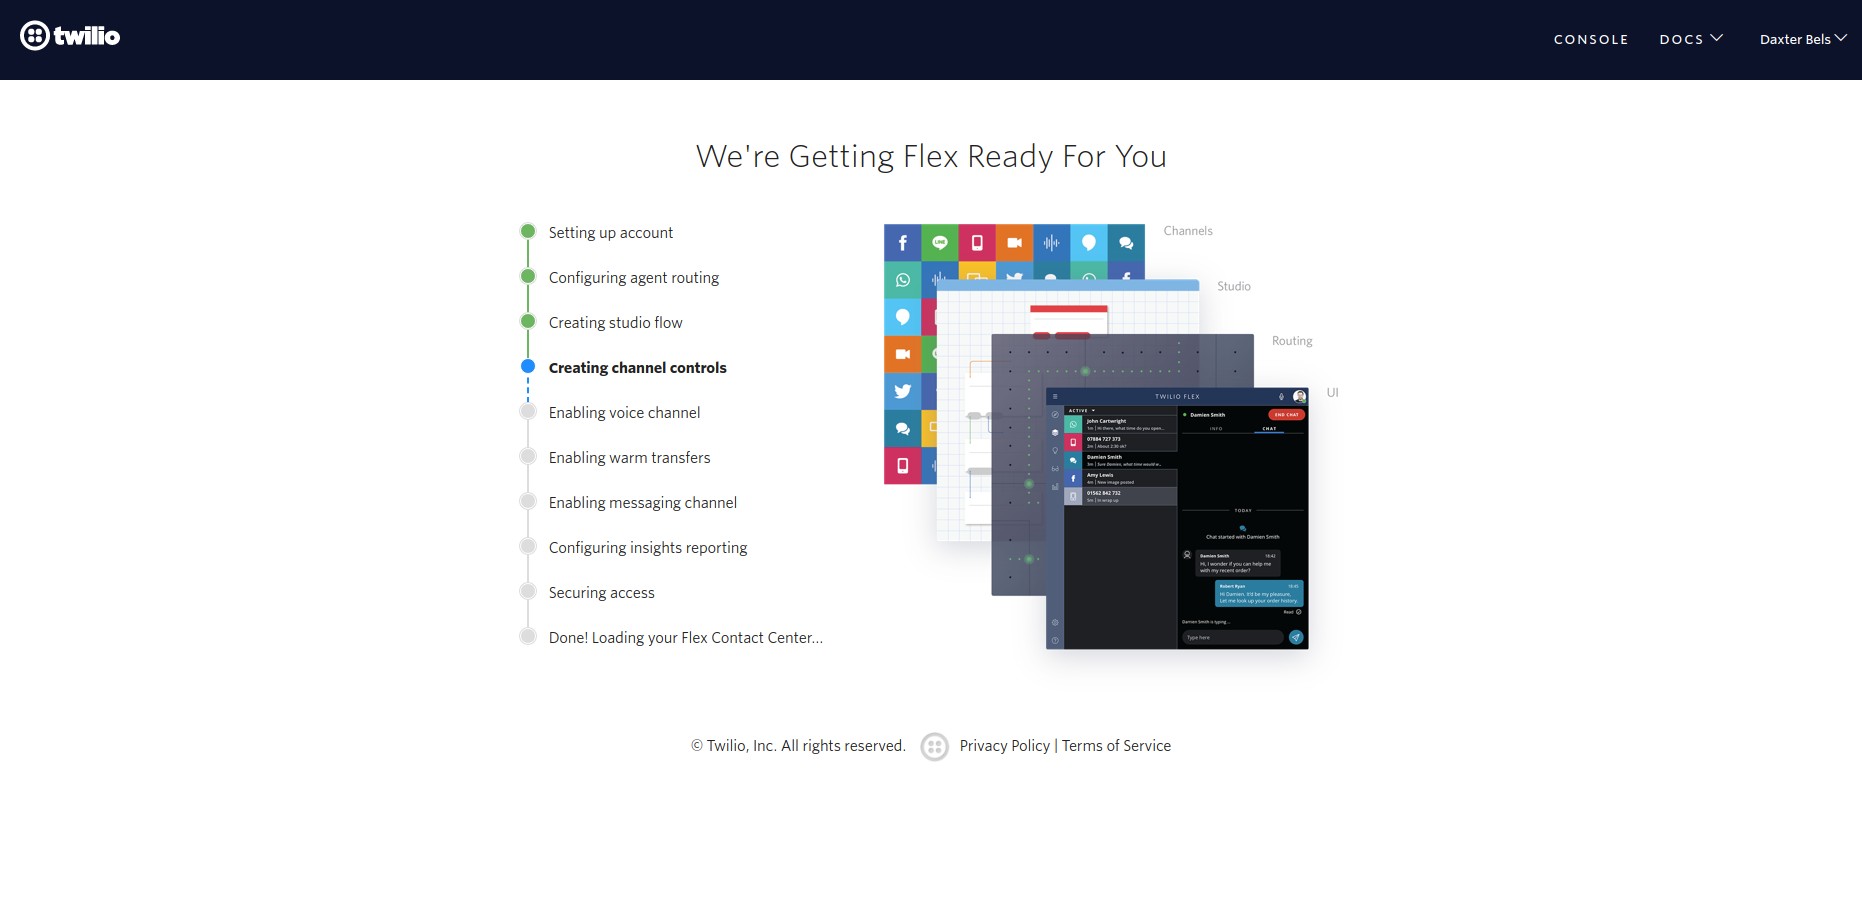
The next page Twilio is going to create everything for us and if you picked Flex it will take you to a Flex tutorial
You can read this documentation if you want, but I’ll teach you all there is to know! So if you are in the turorial click complete in all the steps on the top right corner.
So lets learn how to navigate to Flex from when you first login into the Twilio console.
Click on Explore Products
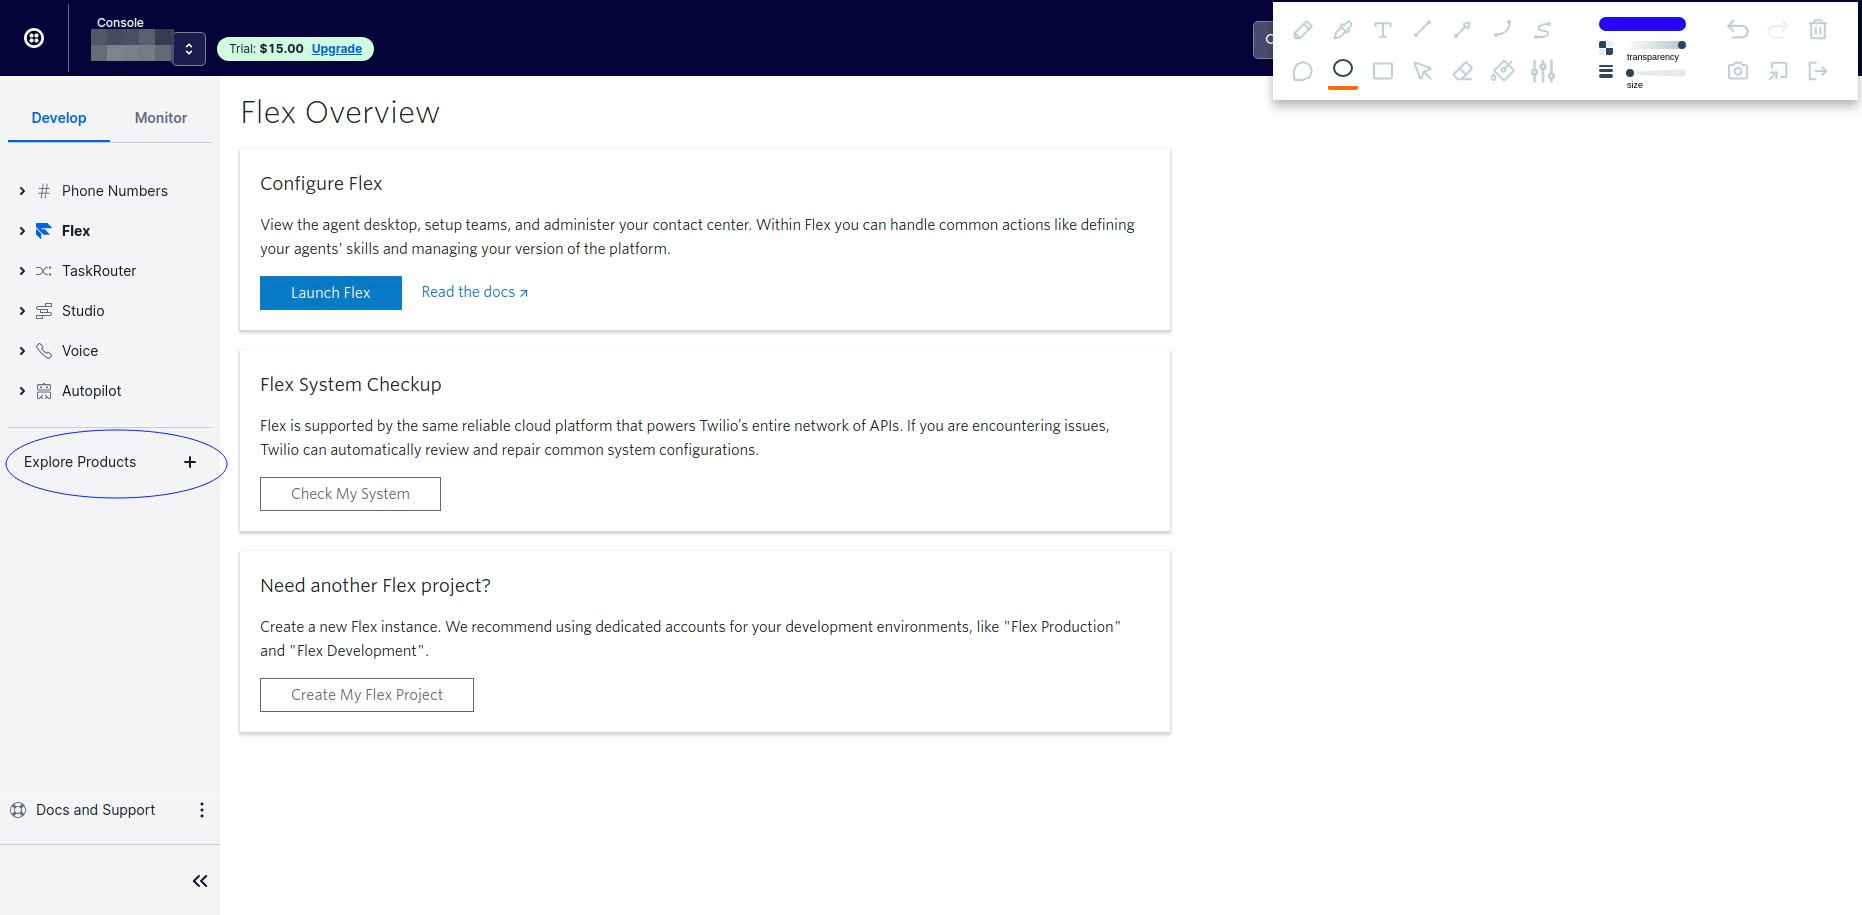
Scroll down to Flex, click on the pin on the right hand side of the box, this will pin the Flex menyu to the menu on the left.
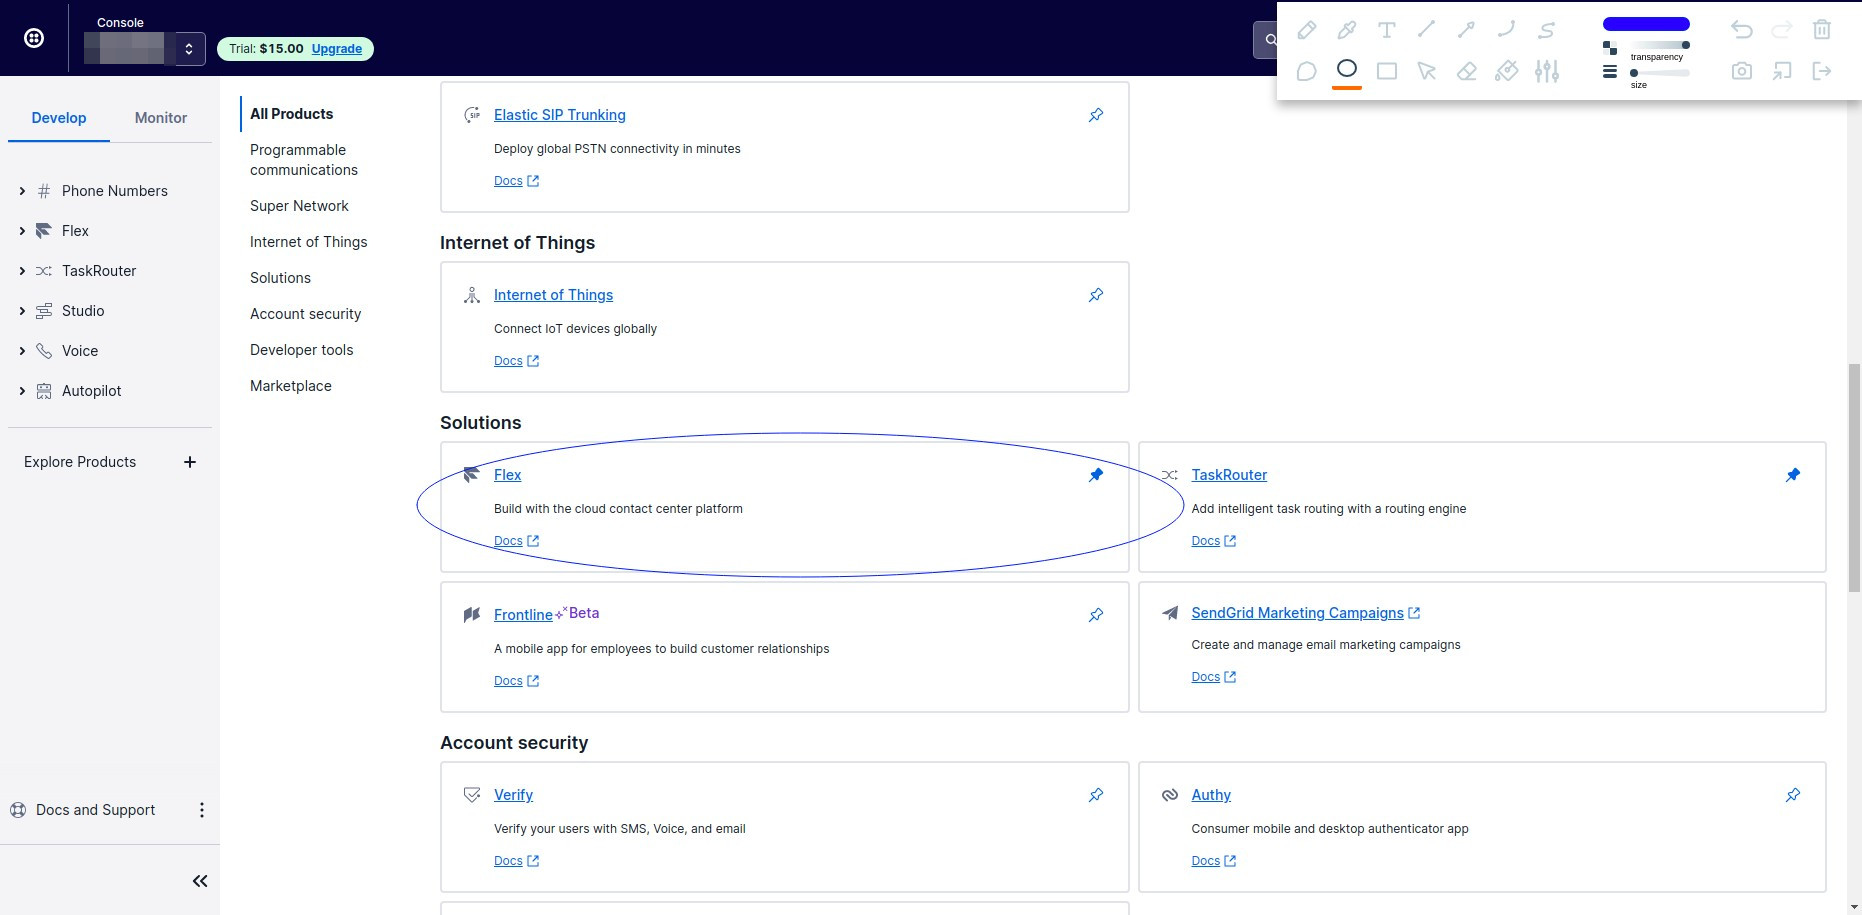
I suggest you have pinned the same as I have pinned:
- Phone Numbers
- Flex
- Task Router
- Studio
- Voice
- Autopilot
Make sure all this products are pinned (you’ll thank me later).
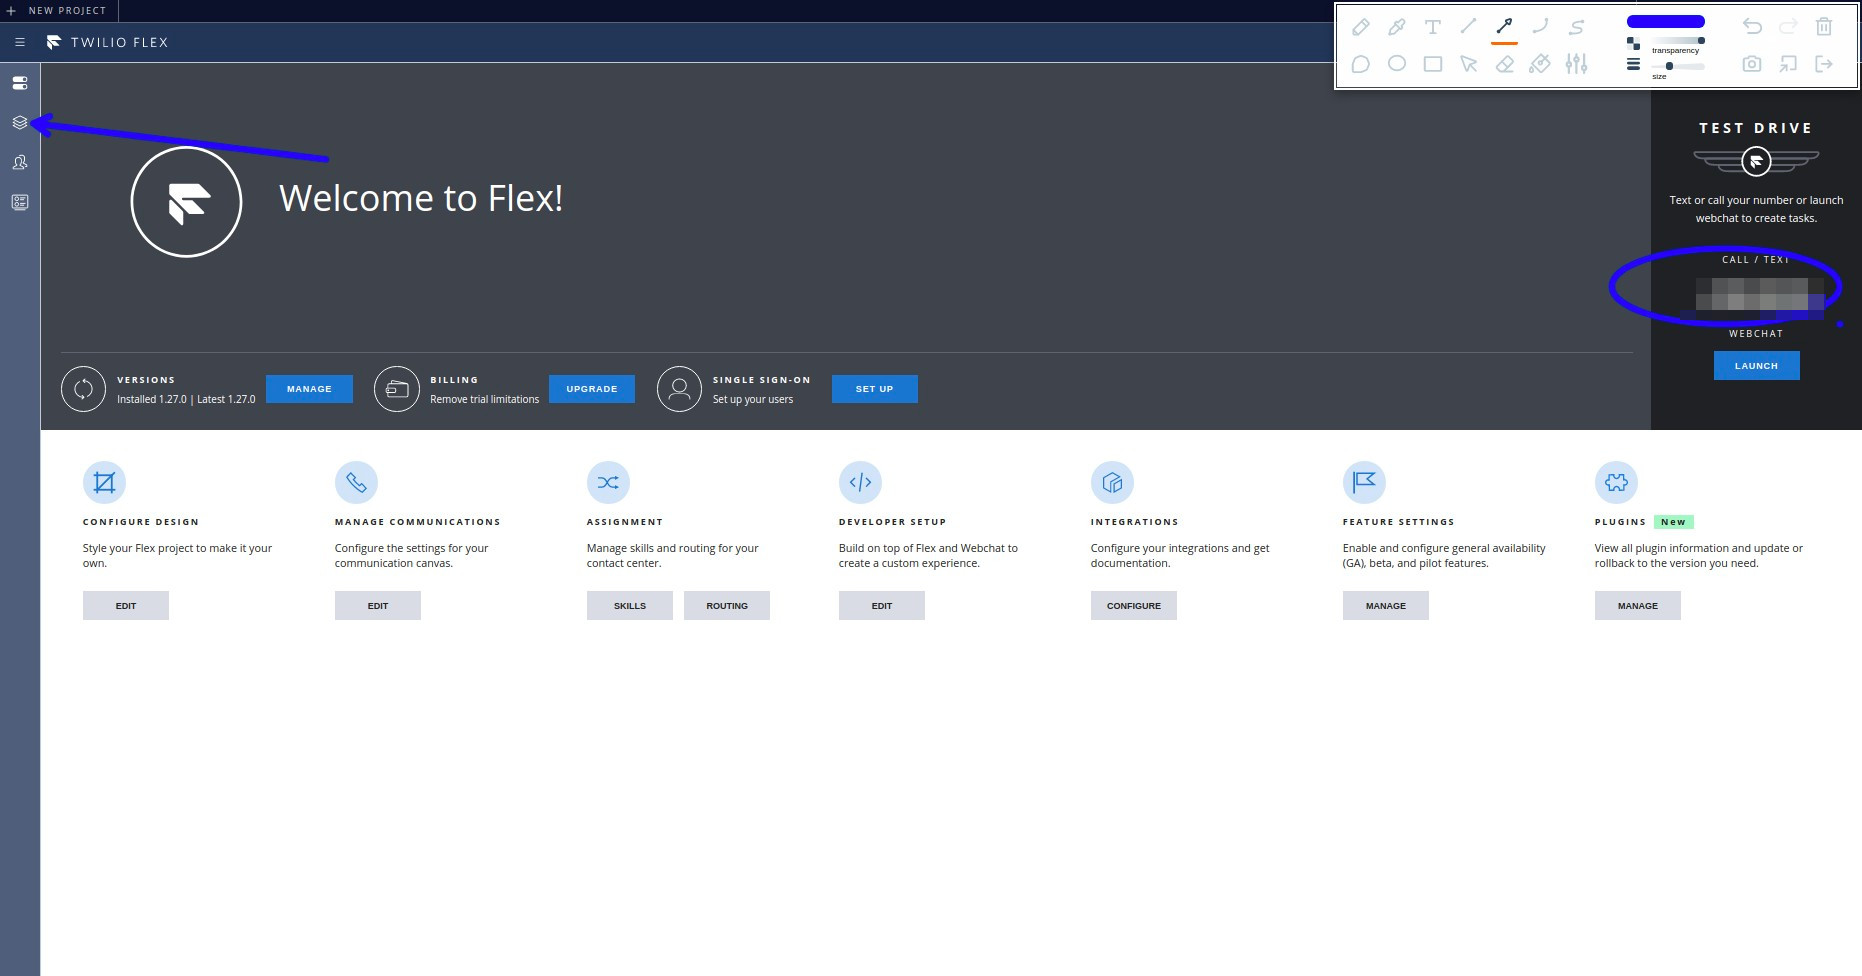
After pinning all this products, open flex by Clicking on Flex on the explore products page or Flex > Overview on the left nav bar. Then click on Launch Flex.
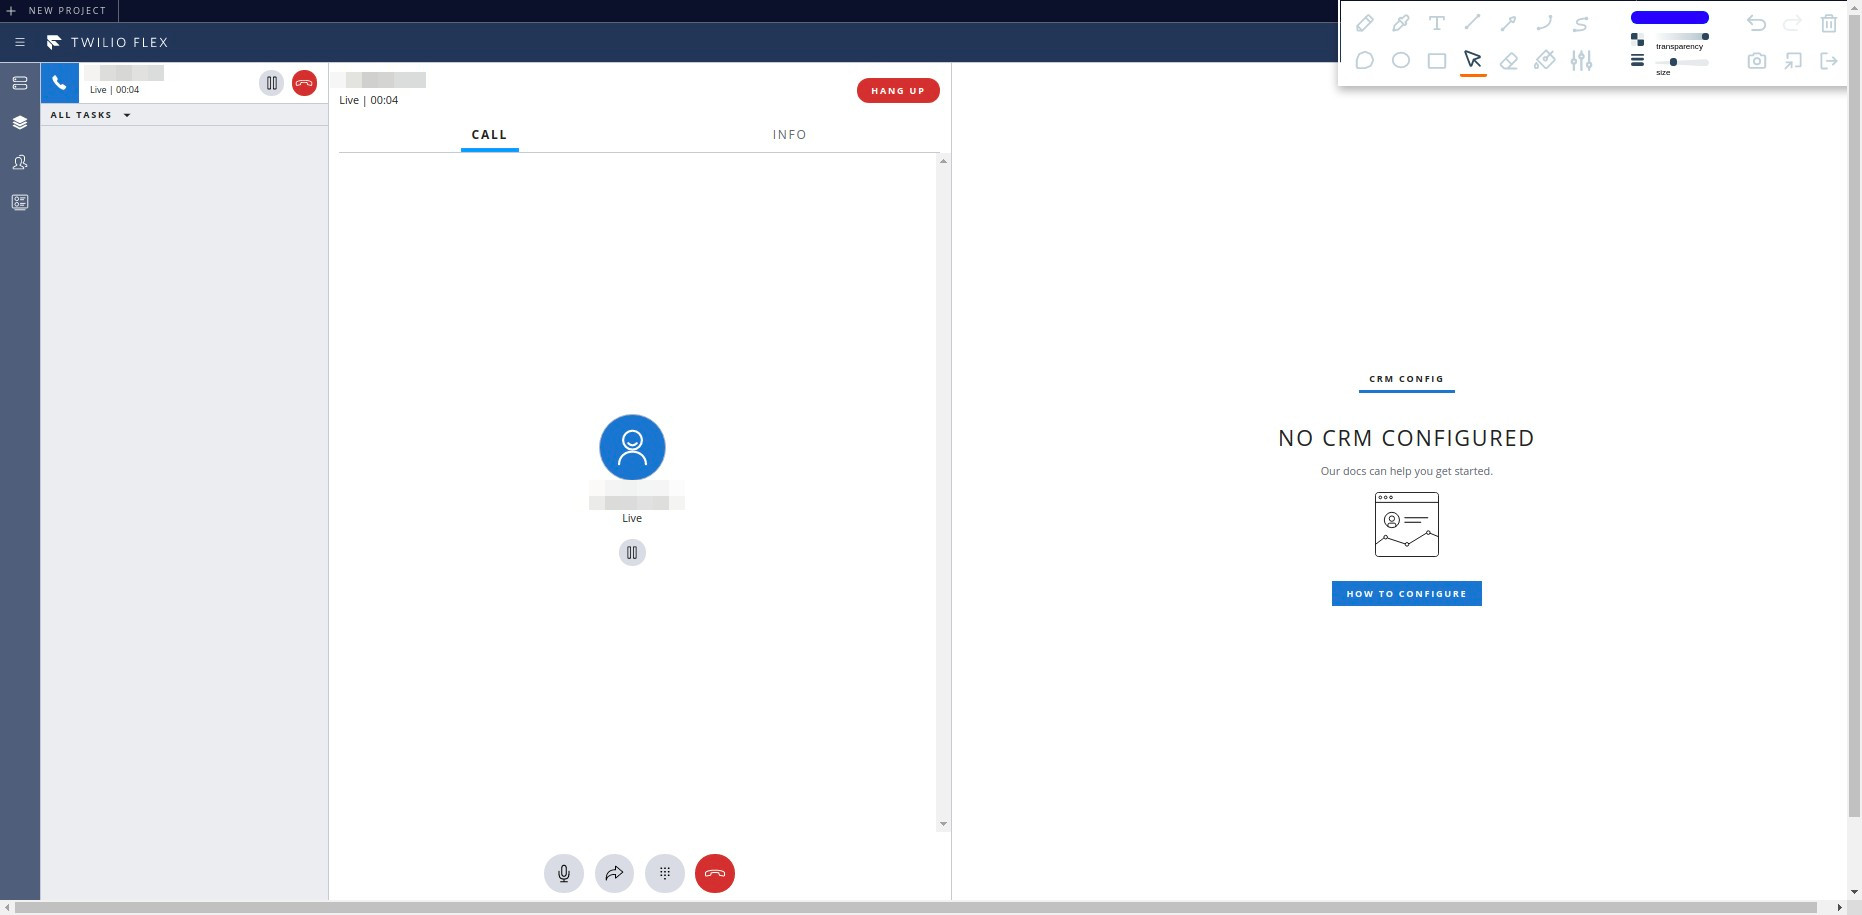
In the Flex instance, you’ll see a phone number on the right hand side. Make a note of it, we are going to call it in a second. On the left navigation menu , click on the Agent Desktop Icon (should be second from the top, look at screenshot below).
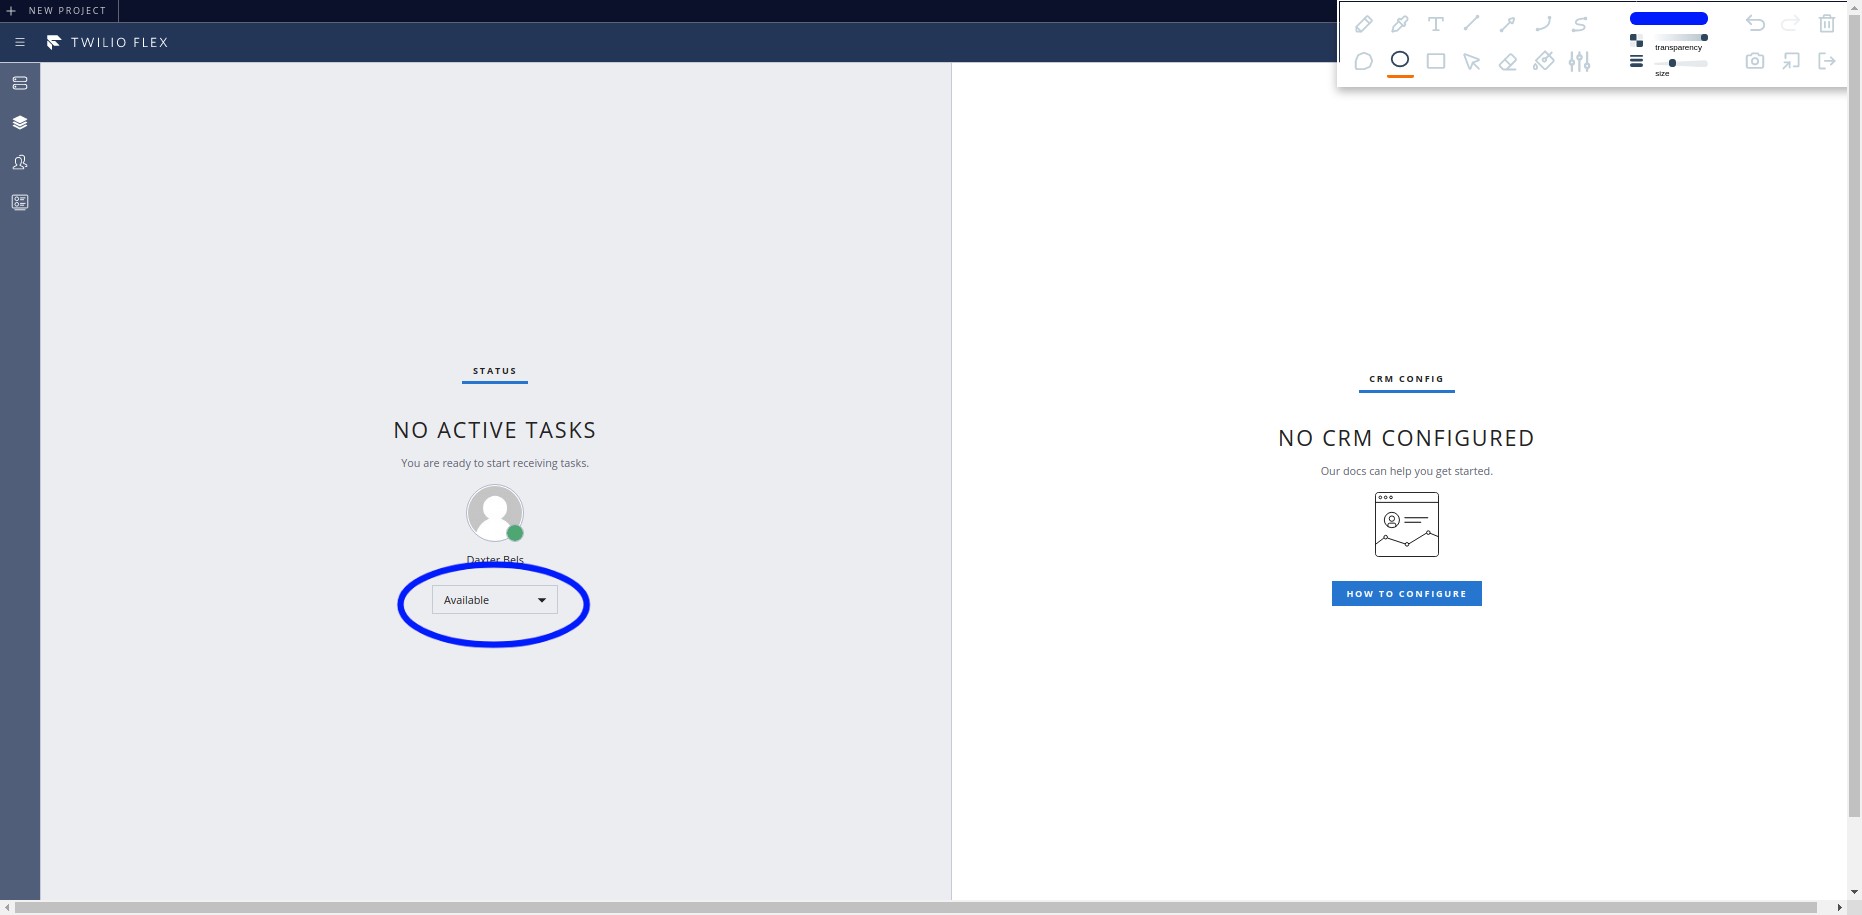
With the dropdown menu at the center of the left screen, make yourself available. You should see available on the top right corner of the screen now as your status. You are an agent waiting for a call now!
Call the Flex number you took a note of a bit back and watch flex in action! If you haven’t added a credit card to your account when you call you will be informed of this, and you will be prompted to press a key to execute your code, press a key when you hear this. You will receive a call in your desktop:
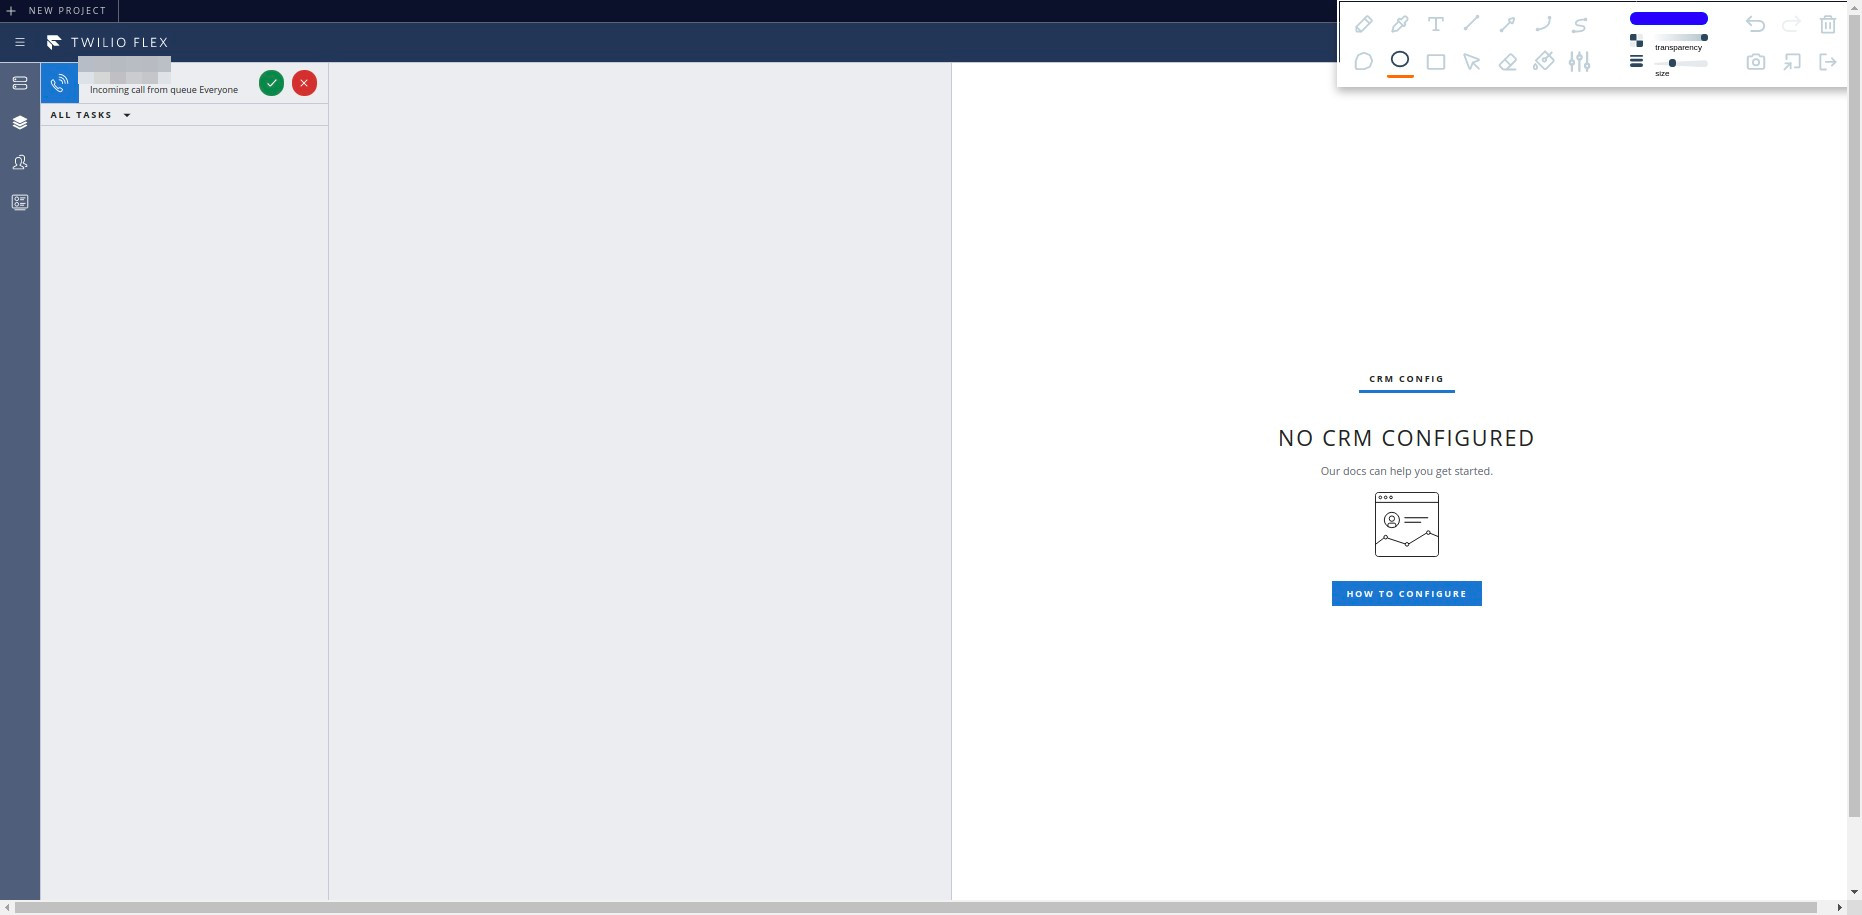
On the top left corner, this is a Task coming in. You click on the green tick to accept the task (accept the call).
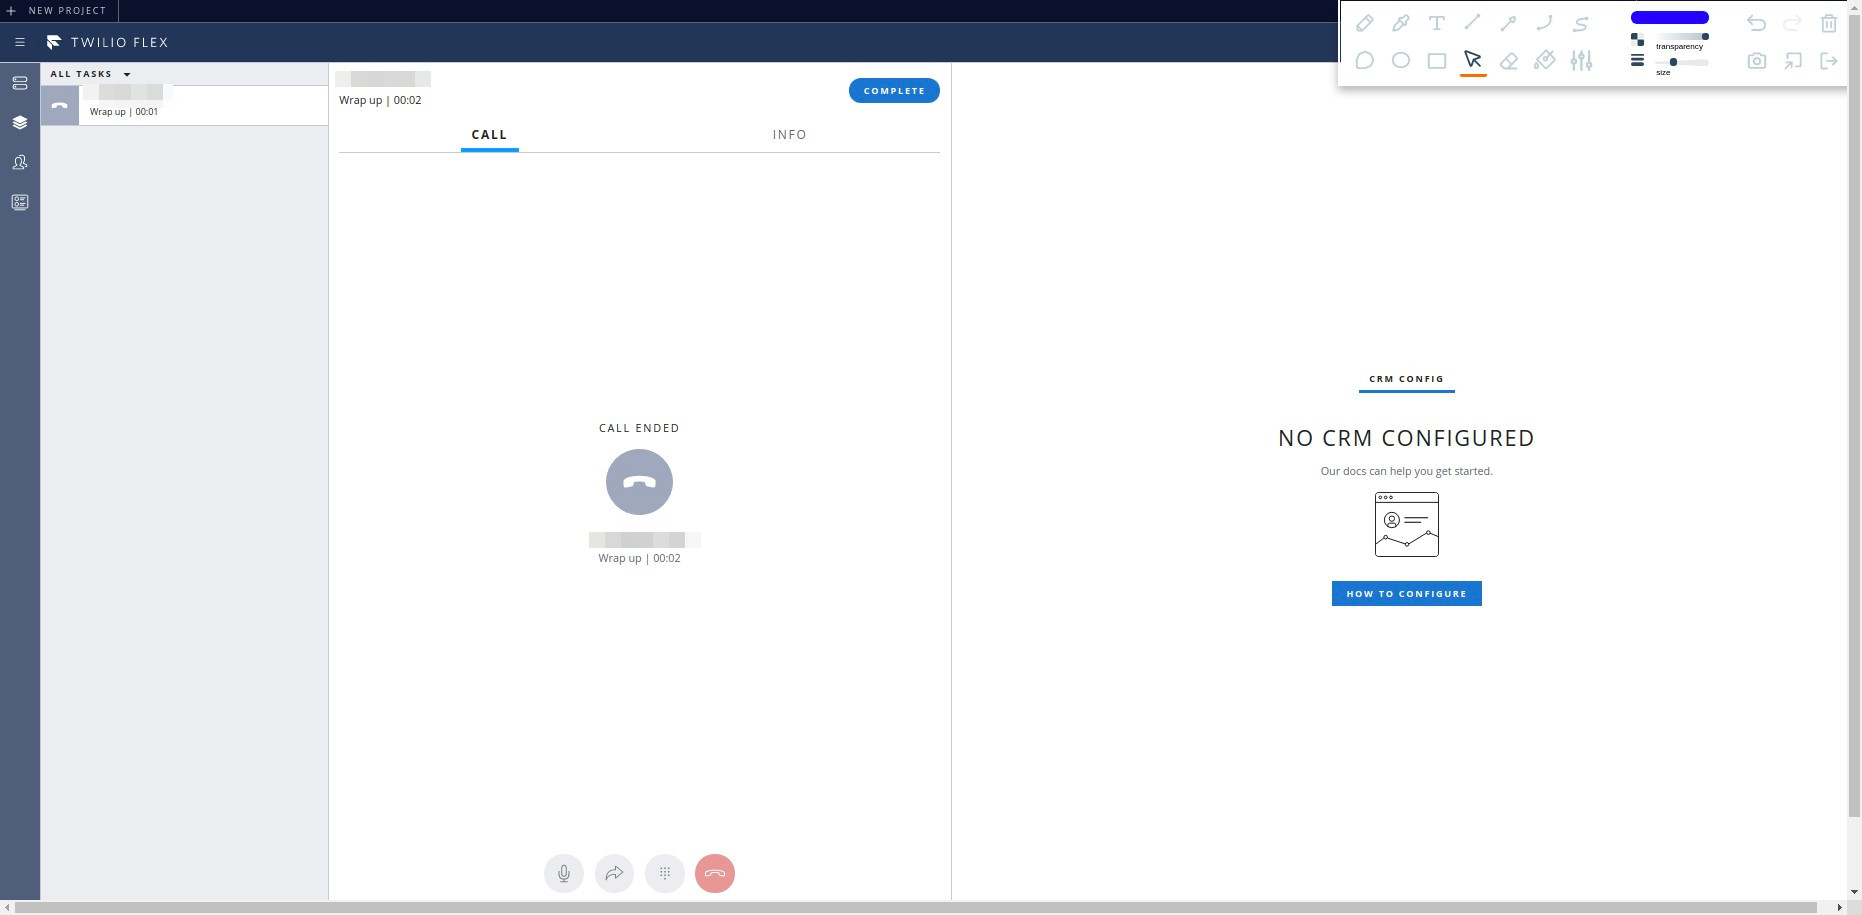
Now your call (your cellphone) is connected to the agents (your browser). Talk to yourself a bit and click on hang up at the top.
Now the call is disconnected but we still have the task in progress. Click on Complete to complete the task.
Congrats, you’ve set up your Twilio instance and it is ready to take calls. Next we are going to learn how to create an IVR using Twilio Studio and route a call according to the selections of the caller on the phone. Don’t forget to make yourself offline again by clicking on the top right and changing your status or the same dropdown you used to make yourself available.